Start by taking one lovely metal princess by Julie Guthrie. I love her sculpts, probably all the more, because some of the very first minis I ever owned were hers.
Cut the tab shorter to facilitate basing.
Build the base, a flower from a short length of paper string, a bit of wire for the stem and leaves of paper.
Some coarse sand and chopped up bits of bark for flagstones.
Add the princess.
A grey basecoat.
I start the painting with the base. I have two reasons for this:
- 1. I find it easier to satisfactorily cover up any mistakes I get on the base while painting the figure itself than the other way around.
- Sometimes I get stuck with no idea what colours I want to use for the mini, but doing the base seems to help break the "painter block" I sometimes get when looking at a basecoated mini.
Then highlight the base with a lighter, yellower green.
Dark grey for the flagstones.
Highlight the flagstones. I was looking at some stones in a park and realized that they aren't just grey. So, a whitish blue and red for some of these.
Green for plant life.
Roses are red.
Highlighting the rose.
A mix of warm red, cold yellow and white produces a skin tone I quite like.
The same basic orange mixed with black ink to shade the skin.
Highlighting the skin with the same mix as the base colour + more white.
White for the stockings and petticoat.
Really thinned down black ink to shade and a bit of bluish grey for highlighting these a little off-white.
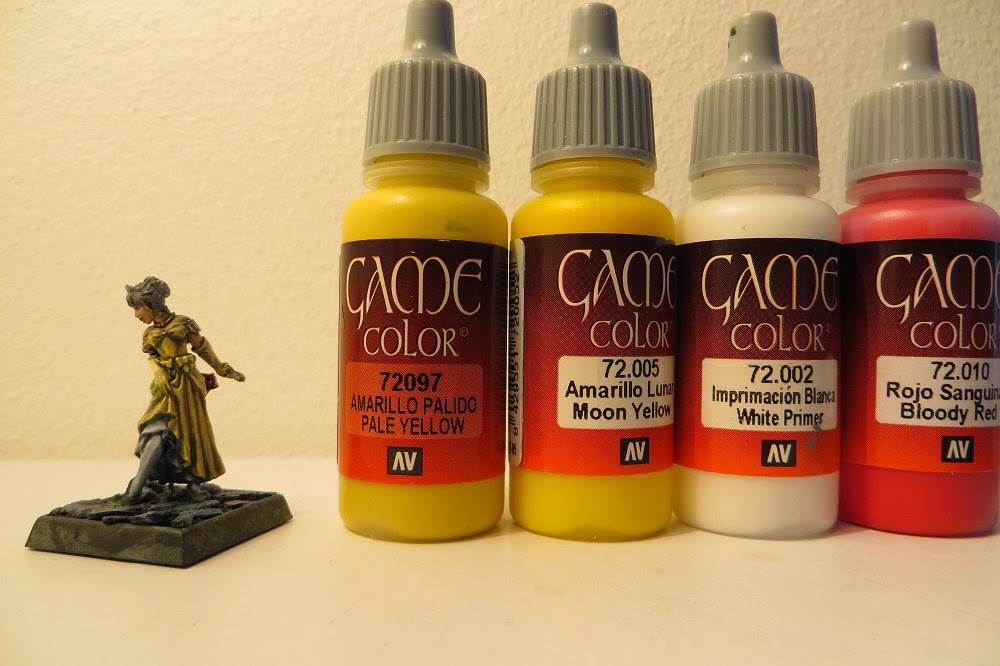
A mix of cold and warm yellow for the base colour of the dress.
Tint the yellow a bit orangey and darken with black ink (and thin down with water, as I always do) for shading.
Highlight the dress. (I don't think I used red for this, I wonder why that bottle is in picture?)
A dark red for the shoes.
Highlight the shoes, again, slightly orangey.
A light orange turned toward brown with a bit of green for the hair.
Highlighting the hair.
Blue and green for the details of the corsage.
Pale blue for the details, eyes, pearls, tiara.
Brown pupils.
Touch up the base edges with yellowish green.
And so, after a coat of matt varnish, to shelter her from life's misfortunes, a princess is ready to step forward!


Ei kommentteja:
Lähetä kommentti